Because life’s celebrations shouldn’t cost the Earth

Wednesday, 31 July 2013

We thought it must be time for tea.....

The UK is finally getting some decent weather after years of poor summers and my attention has been turning to tea and coffee cosies!  The children's great grandmother used to swear by a cup of piping hot tea to cool her down on a hot day, so as I've been sewing I've been reminded of her theory.


We thought it must be time for tea...and it was!

In homage to the wonderful weather I picked a very pastel summer scheme with lots of lovely 'sugary' colours for this tea cosy. Could it be any more girly and chinzy?


The cosy is a present for my sister-in-law and the back features a monogrammed plate with her initials. This was one of the rare occasions when I used an embroidery machine and, whilst I don't dislike the finish, I really prefer creating free-motion embroidery on my basic machine!


I have also been stitching some cosies for cafetieres ('French press' for North American readers), this one was made for my mum and the coffee cups have her and my father's names embroidered on them.


The lining is upcycled from a beautiful pink wool scarf which felted in the wash


The tiny button on top of the appliqued coffee pot came from Granny's button box and I expect it might even have come from her mother's or even grandmother's collection before that.


Mr Larkin, my lovely husband, also wasn't forgotten and I have stitched a small cosy for his dinky little one cup cafetiere.  He likes to have a pot of coffee on the go when he is writing and I thought if he had a smaller size it might help keep a check on his caffeine intake!


His cosy also features an antique button closure and felted wool lining, although in a more masculine navy and brown.  If you look carefully at the above photo you can just make out some coffee stains under the spout.  These cosies are great not only for keeping your coffee warm, they also protect your table!


Tuesday, 16 July 2013

Embroidered Leather Notebook

School's out!

Yippee, tomorrow is the last day of the school year and we've finished all of our teacher gifts on time!  Today's post features a personalised leather journal for George's form tutor.  I don't normally work with leather, but this is sourced from waste materials which would otherwise go into a landfill or incinerator.  


George helped me with the free-motion embroidery on the front, so it has that authentic student (messy) style handwriting!


The elastic closure keeps the journal nicely closed without obscuring the message 


Also included in the gift is a small bottle of wine and Fair-trade chocolate bar.  By this time of year I imagine even the most patient of teachers could find a use for alcohol!


Tuesday, 9 July 2013

Appliqued Portrait ~ Personalised Journal


My mother has been asking if I would 'sew a little something' for her Church Minister who is retiring this summer. It was on my 'to do list' but first I needed to finish the children's teacher gifts, as the end of term was looming.  Mum however obviously felt that I needed to focus more fully on her needs and as such she sent me an email containing an offer of payment if, and when, I came up with the goods. Her email promised;

"I'll clean the bathroom and the toilet every day when I come to see you for as long as I am able and I'll make pastry for the freezer".

I normally only sew for presents and frankly if the above is the normal going rate for my work then I don't think I'll be retiring anytime soon.  I also don't think that her offer sounds particularly binding on her part.  What on earth does 'as long as I am able mean'?  It sounds rather too vague to me...hmm, I hope I can trust her not to rip me off!

Anyway, she sent me a photo of her Minister and spouse and also reminded me that in English Methodism retirement is usually referred to as 'sitting down' and this is what I came up with.....


A journal cover picturing them 'sitting down' together!


Hopefully they'll recognise themselves!


Mum and her fellow Church Stewards and Elders are going to use the journal to record their messages of farewell and thanks.


Here's a close-up, before I had added the french knot earrings....


 .....And after!


Happy Retirement!

Postscript I
Barbara is actually the retiring Minister, her husband retired some time ago, he's eighty...Who would have guessed?

Postscript II
After Mum had received the journal she decided that she also 'needed' a matching tea cosy!  You can read more about it here.


Wednesday, 3 July 2013

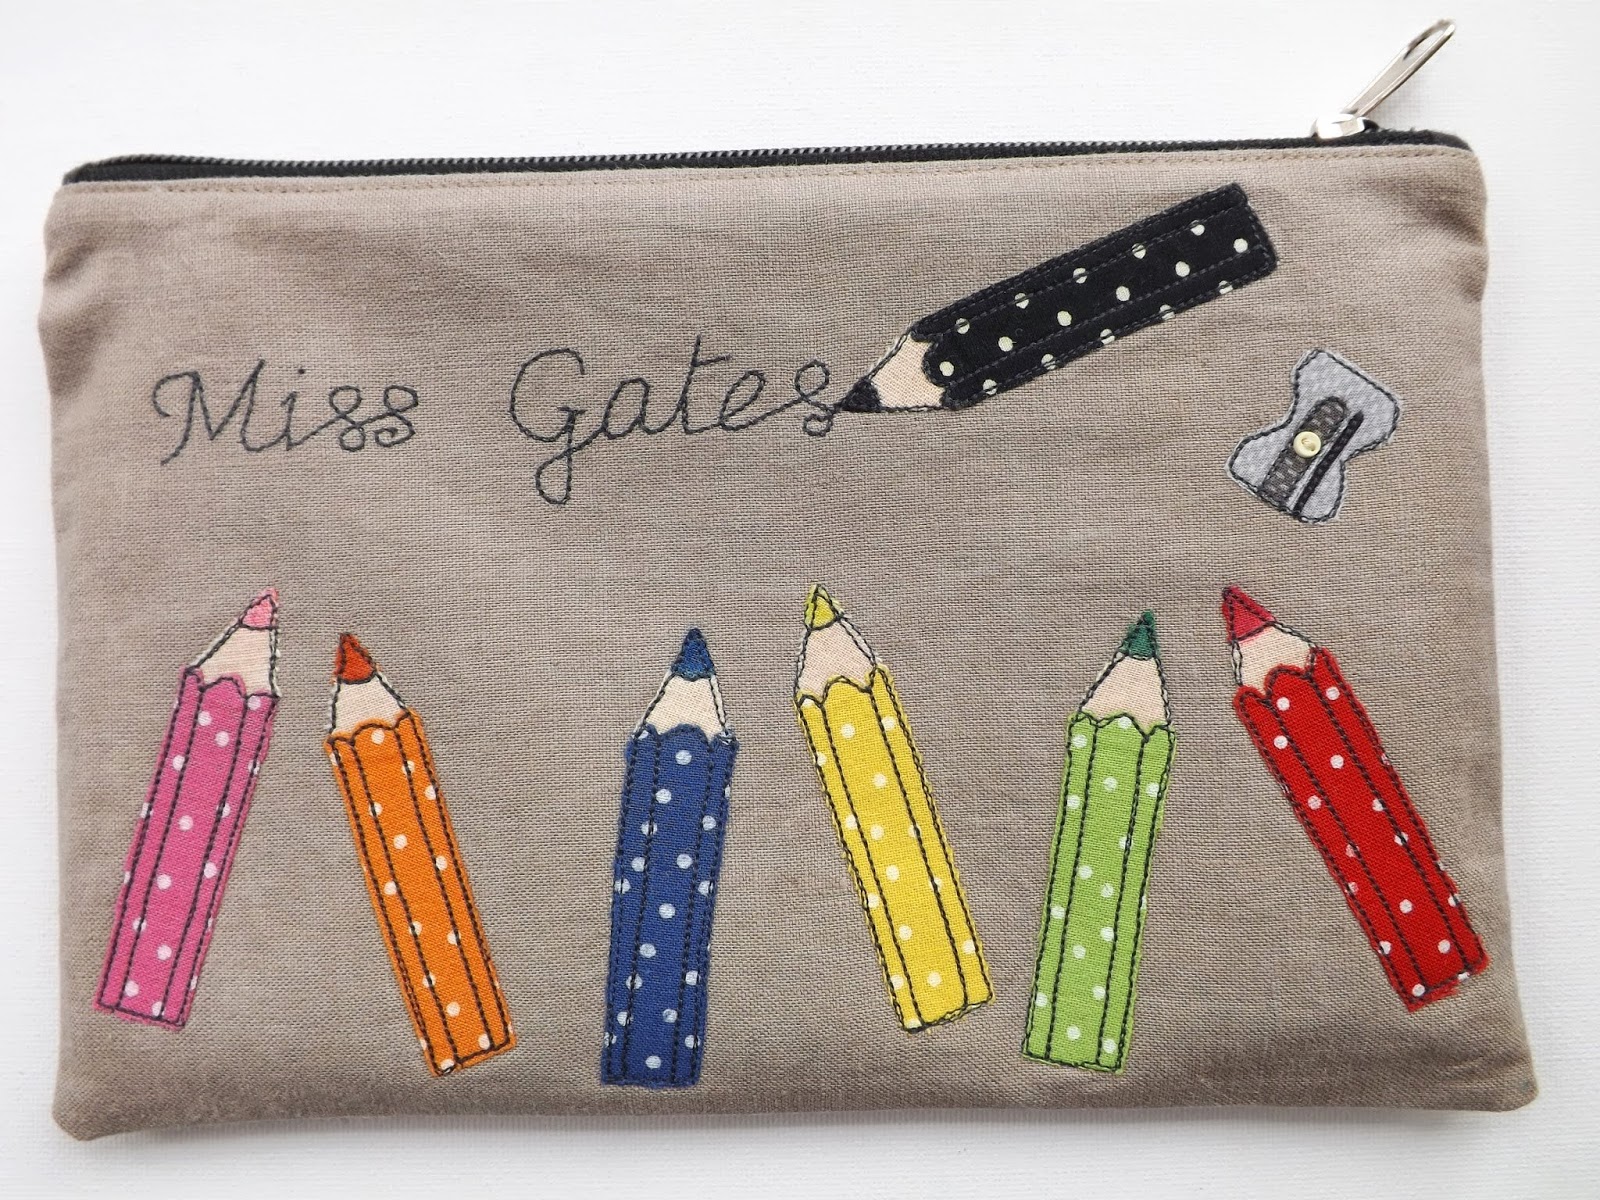
Linen Pencil Case

Raw edge applique & freestyle stitching


The end of the school year is now only two weeks away here in England and I am still busy sewing.  My latest creation is for a very talented Geography teacher who has just earned a much deserved promotion.

Personalised Linen Pencil Case


The cute pencil sharpener is my favourite part of the design on the front of the case.  


The back features a little globe as a fun nod towards her subject specialism. 


As usual, I had some help from bad jealous kitty. She's looking very guilty in this photo, as well she might....whilst up there she spends her whole time chasing my fingers and the thread as it spins off the spool.  Still at least when she's doing that she's not attempting to eat pins from their pot - A much more dangerous pass-time on her part!  My hair 'style' is courtesy of an old (clean) pair of tights used to tie it into a messy bun thus keeping it out of my way while I sew.  Do ya think it will catch on...?

Anyway, I free-motion stitched most of the applique details using my darning foot with the feed-dog lowered which gave the design that sketch like feel, however I then changed the foot for an open-toed applique foot and raised the feed dogs again.  You can see this foot in the following couple of pictures;


 I wanted to demonstrate that you can still get the 'freestyle effect' even if you do not have the confidence to lower the feed-dog and attempt freehand machine embroidery.  The applique foot simply has a large gap, the 'open-toe', which means you can see exactly where you are stitching.  Just reduce your stitch length and then sew around the applique pieces keeping your needle lowered and lifting the foot to pivot the fabric when you need to go around corners or curves.

Once I was happy with the design I inserted a zip and added a lining  


The whole thing was then squared up and the side seams were joined and voila....


All done!


Friday, 28 June 2013

Journal Cover Sew-Along

Applique Note Book Cover 


Today is the launch of a Sew-a-Long hosted by the very talented Virginia Celoria over at 'Darlingadventures'.  It's the first one I have ever taken part in, so I was up early this morning getting started!  Ginny has a wonderful video tutorial which goes through the process of making a journal cover.  She makes it super easy to understand.  Give it a go and take part! 


There are further details on her Facebook page https://www.facebook.com/DarlingAdventures and the 'rules' are pretty relaxed. Simply follow Ginny's instructions for making the basic cover and then decorate however grabs your fancy...applique, patchwork, quilted.....you're limited only by your imagination!

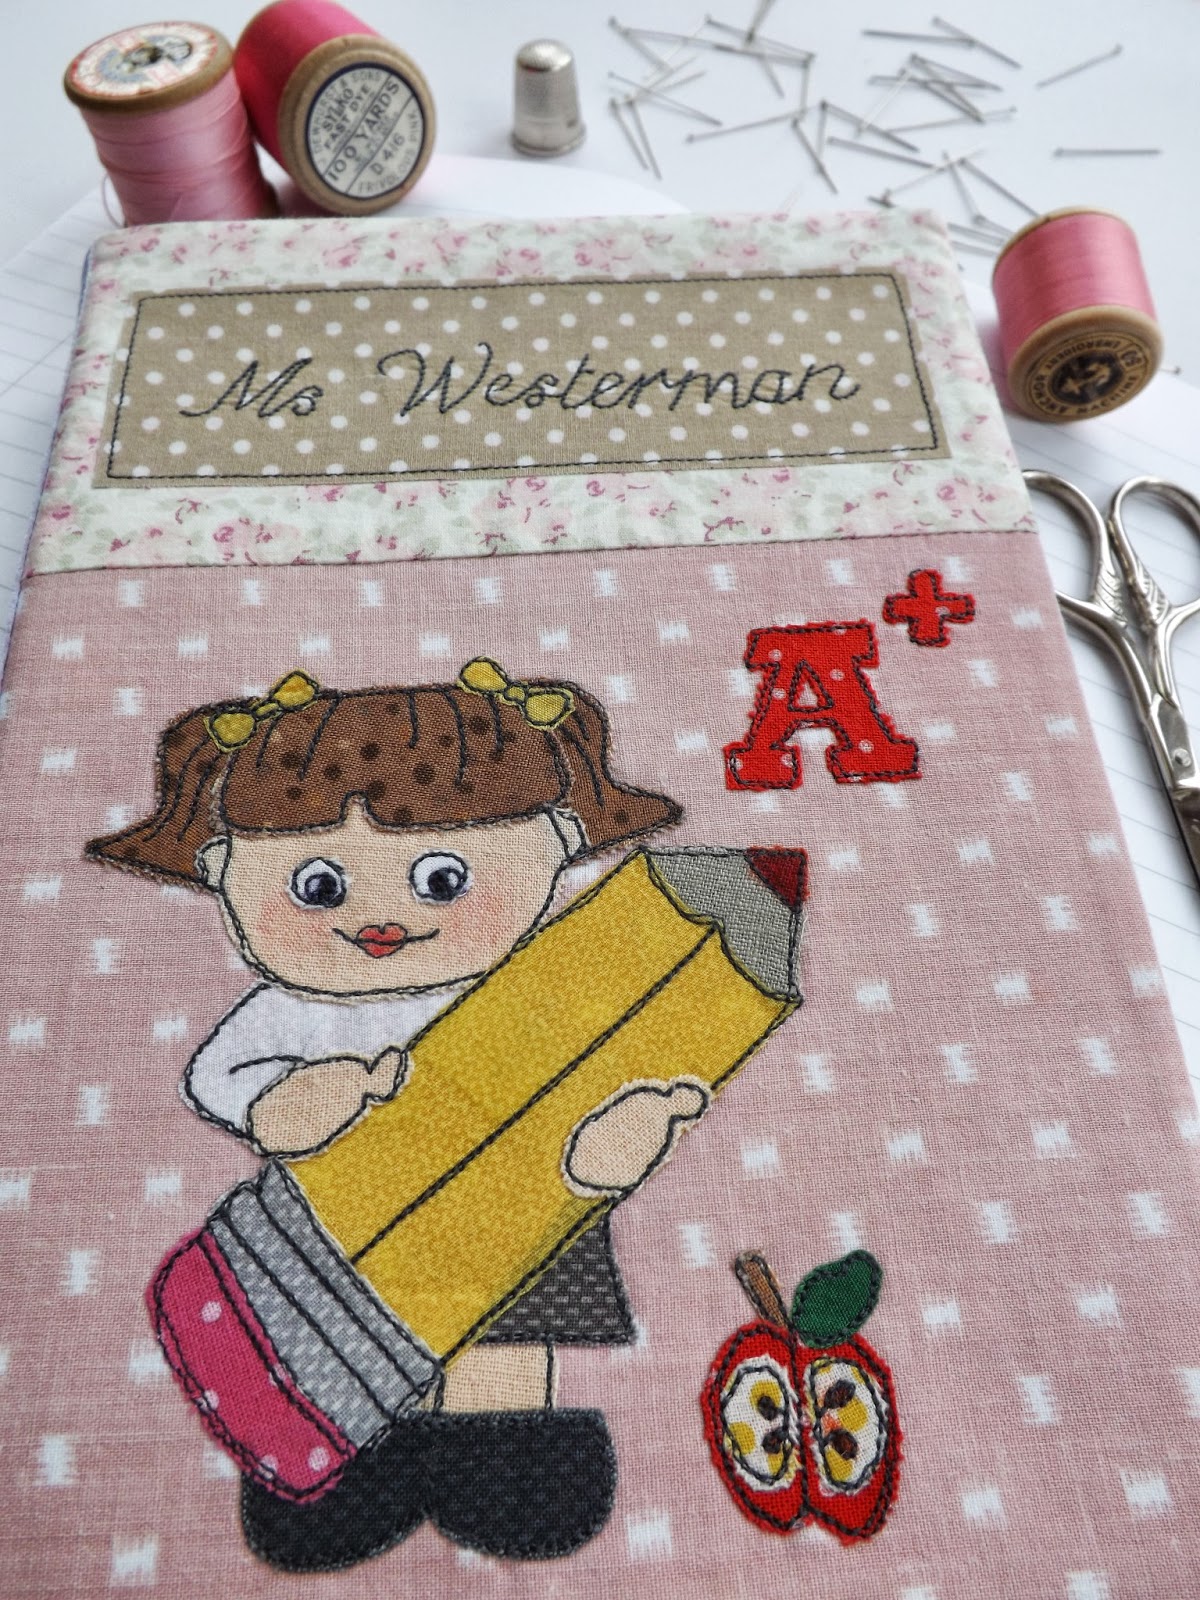
I was busy making mine today and here it is first thing this morning.  Can you tell what my theme is?


Yup, that's right, it's going to be another teacher appreciation gift, this time for my daughter's wonderful teacher.  

Once the details had been stitched it became clearer;


I used Ginny's basic pattern to make a patchwork cover as I wanted the front and back to feature different fabrics.  The front is comprised of a soft pink upcycled pillow case and an old favourite floral fabric cut from a very worn 'Dorma' duvet cover.   The back is made from a pair of outgrown jeans.  I chose this so that the journal would not show up so many marks when placed on a grubby school desk! 


I have embroidered her teacher's name on the front and adding to the personal touch, I ensured that the little girl's hair colour matches Alice's! 


I hope both Ginny and Ms. Westerman like it!


Keep checking Ginny's Facebook page for inspiration from all those talented people out there!

Wednesday, 19 June 2013

Appliqued Journal Tutorial

Teacher Appreciation Gift


Wow, this year has just rushed past and school's nearly done!  Hence our thoughts have been turning to suitable ways of showing our appreciation to those hard-working individuals who have made such a difference to the children's education.  

George and I have already made something for his form tutor but he also wanted a small gift for his science teacher, so we came up with a design for a personalised journal......


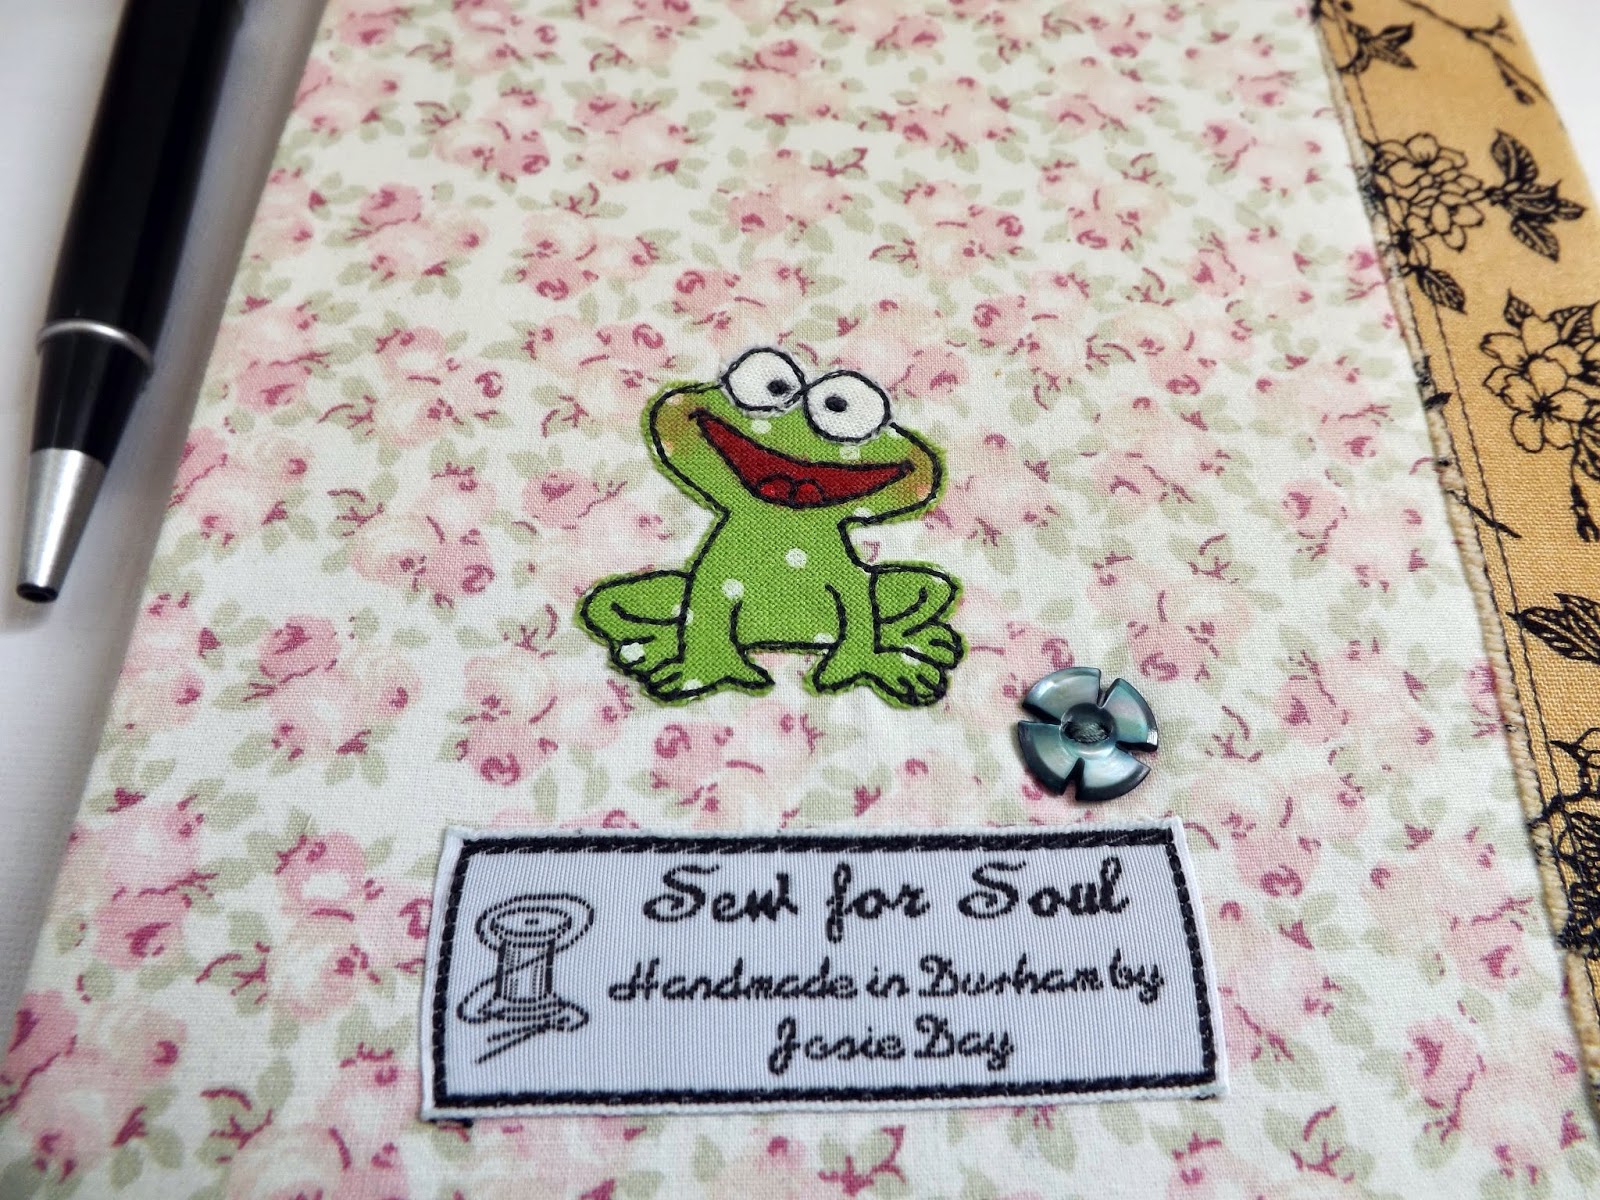
George gave me a few pointers for the design telling me he 'thinks' she wears glasses 'sometimes' and she 'might' like frogs as she has one on the clock in her lab.  He is, however, 'certain' that she has light coloured 'longish' hair.  I really hope the glasses bit is true, as otherwise the likeness will be frankly rubbish!  He was also rather vague about whether or not she was a Miss, Ms or Mrs - The school's website clarified that one, although surprisingly offered no information on the state of her eyesight or colour of her hair!

Still, at least the frog on the back is science themed, even if it transpires that she does not actually have a deep rooted love for amphibian friends.


 Tutorial


Journals make great gifts for just about any occasion or person and the actual covers are very easy to make.  The design you choose to decorate it with can then be as complex (or simple!) as you like.  Firstly measure the outside of your notebook being sure to include the depth of the spine.  Then add on a couple of centimeters to both the height and width for your seam allowances.   

I used more than one fabric for the background of my design, but just one colour would still be equally effective.  Having pieced the cover colours together I fixed my design into place using iron-on fusible web.  I then stitched around each of the pieces in black thread.


This form of raw edge applique is very popular at the moment but it seems the sewing world has yet to decide upon a definite name for it.  I have variously seen it referred to as free-motion embroidery, free-style embroidery, free-form embroidery and free-hand embroidery!

Anyway, whatever you choose to call it doesn't matter, the exciting thing is that it allows you to use your sewing machine needle in the same way as a pencil and you're limited only by your imagination!

An important point to note is that you should not be put off by what your work looks like before adding the black stitching. All designs look bland at this point!

See what I mean? 

Now look at the difference the black makes.....

Much better!

The cover's ready to have its label attached and be squared up.


Now cut two pieces of fabric which are twice the width you want the flaps holding your journal to be.  I made mine 18cms so that when they were folded in half they would be approximately 9cms wide.  They need to be the same height as your cover piece.  Fold and press then place on top of your cover, right sides together.  As you can see in the picture below, my flaps are in the same fabric as the spine detailing.

   
The next step is to cut a lining fabric so that it is the same size as your main cover.  Then lay it on top of your fabric 'sandwich', again with right sides together.


Pin your sandwich together and then machine all four sides, remembering to leave a gap so that you can turn right sides out!


(In the photo above you can see that I have attached some interfacing to the reverse of the front piece.  This is because the fabric puckered slightly after the black stitching was added.)

Once the sides have been machined, trim your seam allowances and clip the corners to reduce bulk.  Now turn through to the right side and push out the corners (I use a big, and blunt, wooden knitting needle).

Press and finally stitch the opening closed and that's it.......


All done...


Let's just hope George's 'facts' were correct!


As regular readers will know, I can recommend a wonderful video tutorial on this topic, by the very talented Ginny over at www.darlingadventures.com.

She has also just announced an upcoming journal cover sew-along, so I might just enter this one there!

Saturday, 15 June 2013

Vintage Linen Crinoline Lady

Upcycled Linen Purse

Whenever I am out and about, I keep my eyes open for hand-embroidered vintage linens.  The designs which turn up most frequently are flowers and Crinoline Ladies.  Now, floral items are perfect for bunting, as they are quite small, but Crinoline Ladies are too large for a bunting flag.  So what to do with them?  

At this point I should note that I only collect pieces which are worn, stained or ripped and would otherwise go into the bin - I would feel too guilty to cut up undamaged work!  Actually I'm not even all that keen on the classic Crinoline Lady, they are much too twee and chintzy for my liking, but I just can't leave them to their almost certain death!

I used my find from last weekend to create a make-up pouch for a dear friend and whilst she too may not be a massive fan of the basic design, I knew she would appreciate the hours of work that once went into creating the original embroidery.  

The Crinoline Lady was at 'her' most popular between the 1930's and 1950's, so I guess we could call it a classic!


Having decided upon stitching a make-up purse, I cut away the damaged areas and then attached polka-dot bands to each of the four sides.


As the original linen was quite thin and fragile, I added a backing and then free-motion quilted the entire piece which provided much needed additional stability.


I also free-motion embroidered my friend's name onto the reverse of the purse, as most people really appreciate the personal touch.


Next the zip was inserted before squaring up all the outer and lining pieces.  It was then a simple matter of sewing the bag up, whilst remembering to leave a gap in the lining for turning purposes!


Sticking with the vintage theme I added a traditional 'Suffolk Puff' or 'Yo-Yo' beneath Dorothy's name.


 All finished!


 Postscript

 If you look carefully at this last picture you can, yet again, spot 'Bad Kitty'.  Mr Larkin and the children find her antics very amusing and are greatly impressed that she manages to photo-bomb most of my blog entries!

Personally I just find it annoying....so it's a good job I love her too xx