Because life’s celebrations shouldn’t cost the Earth

Showing posts with label Journal Cover Tutorial. Show all posts

Sunday, 16 March 2014

Fabric Journal Cover Tutorial


This tutorial is for a cute little fabric notebook cover.  I used an A7 jotter which is the perfect size to slip into a pocket or handbag.  I had picked some up in the sale at our local supermarket and they look really lovely with a little hand stitched jacket! This one is a thank you for a teacher at the local senior school who has been coming into the junior school, after a full day's teaching, to offer enrichment lessons to some of the more able students, including Alice.

Materials


The project only requires small amounts of fabric, so is perfect for using all of those scraps from your stash. The only other element I used was a length of red elastic which came from a box of Christmas chocolates!

Method

First measure your notepad including the front and back cover and spine, then add 2cms to the measurements as your seam allowances.  My pad was 24 x 7.5cms so I cut my two main strips to measure 26 x 9.5cms.  You will also need to cut out at least two pieces of fabric for your pockets.  I actually cut three as I wanted an extra pocket to tuck a tiny thank you card in.  The two main pockets serve to hold your cover in place on your notebook and they need to measure 9.5 x 6 cms.  They require a tiny hem so simply turn the fabric over and stitch so that they look like the picture below;


You now need to make a 'sandwich' with all the fabric pieces.  First lay the outer cover down, right side up, then place the two pockets on top, right sides down, and then pop the lining piece on top.  This sounds a little complicated but if you look at the photo you'll see it's actually really easy!  If you're using an elastic closure lay it between the back cover and pocket about 2cms up from the bottom edge.


Machine stitch the whole way around your fabric sandwich, remembering to leave a gap for turning.  Now simply turn the cover through the gap, push the corners out using a knitting needle or chopstick and press firmly.  The final step is to hand sew the little gap closed and that's it.  A cute little fabric covered notebook in less than an hour!

I chose to applique the outside of my cover but it would look equally lovely stitched in a piece of your favourite 'statement' fabric, with a contrasting lining and pockets.  If you are making one as a teacher appreciation gift please feel free to use mine as inspiration;


Wednesday, 19 June 2013

Appliqued Journal Tutorial

Teacher Appreciation Gift


Wow, this year has just rushed past and school's nearly done!  Hence our thoughts have been turning to suitable ways of showing our appreciation to those hard-working individuals who have made such a difference to the children's education.  

George and I have already made something for his form tutor but he also wanted a small gift for his science teacher, so we came up with a design for a personalised journal......


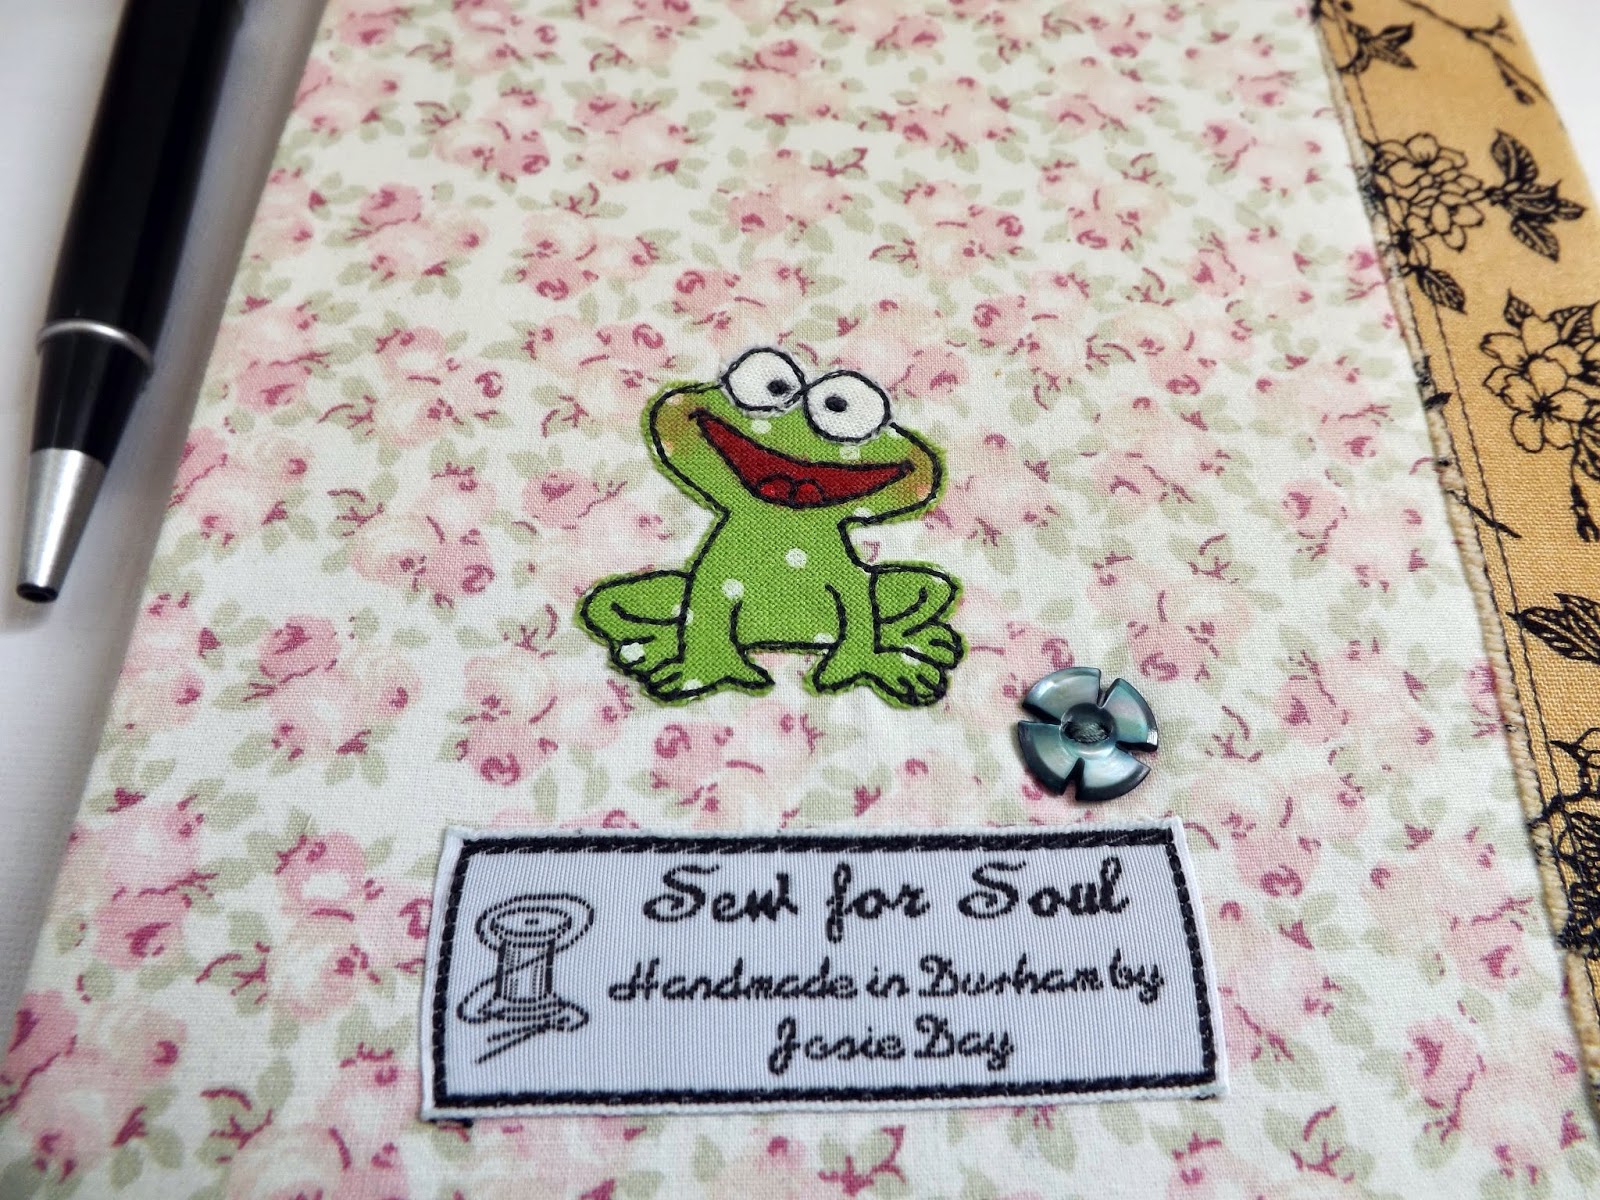
George gave me a few pointers for the design telling me he 'thinks' she wears glasses 'sometimes' and she 'might' like frogs as she has one on the clock in her lab.  He is, however, 'certain' that she has light coloured 'longish' hair.  I really hope the glasses bit is true, as otherwise the likeness will be frankly rubbish!  He was also rather vague about whether or not she was a Miss, Ms or Mrs - The school's website clarified that one, although surprisingly offered no information on the state of her eyesight or colour of her hair!

Still, at least the frog on the back is science themed, even if it transpires that she does not actually have a deep rooted love for amphibian friends.


 Tutorial


Journals make great gifts for just about any occasion or person and the actual covers are very easy to make.  The design you choose to decorate it with can then be as complex (or simple!) as you like.  Firstly measure the outside of your notebook being sure to include the depth of the spine.  Then add on a couple of centimeters to both the height and width for your seam allowances.   

I used more than one fabric for the background of my design, but just one colour would still be equally effective.  Having pieced the cover colours together I fixed my design into place using iron-on fusible web.  I then stitched around each of the pieces in black thread.


This form of raw edge applique is very popular at the moment but it seems the sewing world has yet to decide upon a definite name for it.  I have variously seen it referred to as free-motion embroidery, free-style embroidery, free-form embroidery and free-hand embroidery!

Anyway, whatever you choose to call it doesn't matter, the exciting thing is that it allows you to use your sewing machine needle in the same way as a pencil and you're limited only by your imagination!

An important point to note is that you should not be put off by what your work looks like before adding the black stitching. All designs look bland at this point!

See what I mean? 

Now look at the difference the black makes.....

Much better!

The cover's ready to have its label attached and be squared up.


Now cut two pieces of fabric which are twice the width you want the flaps holding your journal to be.  I made mine 18cms so that when they were folded in half they would be approximately 9cms wide.  They need to be the same height as your cover piece.  Fold and press then place on top of your cover, right sides together.  As you can see in the picture below, my flaps are in the same fabric as the spine detailing.

   
The next step is to cut a lining fabric so that it is the same size as your main cover.  Then lay it on top of your fabric 'sandwich', again with right sides together.


Pin your sandwich together and then machine all four sides, remembering to leave a gap so that you can turn right sides out!


(In the photo above you can see that I have attached some interfacing to the reverse of the front piece.  This is because the fabric puckered slightly after the black stitching was added.)

Once the sides have been machined, trim your seam allowances and clip the corners to reduce bulk.  Now turn through to the right side and push out the corners (I use a big, and blunt, wooden knitting needle).

Press and finally stitch the opening closed and that's it.......


All done...


Let's just hope George's 'facts' were correct!


As regular readers will know, I can recommend a wonderful video tutorial on this topic, by the very talented Ginny over at www.darlingadventures.com.

She has also just announced an upcoming journal cover sew-along, so I might just enter this one there!