Because life’s celebrations shouldn’t cost the Earth

Monday 27 November 2017

Anything Goes! - Scrappy String Quilt

Strip Quilt Block Tutorial


December's issue of Sewing World Magazine is available in shops now and I have two projects featured, the first of which is this 'Anything Goes!' scrappy string quilt.  As the name suggests, there's absolutely no design rules to follow, which makes it the perfect way to use up all those miss-mash scraps from your fabric stash! 


The navy central strip of each block gives the eye a rest and provides unity, allowing the rest of your fabric choices to be completely random.  The scrappy approach also creates the opportunity to stitch the most wonderful memory quilts.  My family love to snuggle under ours, pointing out fabrics from previous projects and outgrown childhood clothing!


The blocks are first stitched using a foundation square and then trimmed to size, so there's no boring measuring (or even accurate sewing!) needed and the whole process is super quick!


The finished quilt can be any size, I just kept going until I had run out of the middle strips that I was cutting from a little dress my daughter had worn as a toddler.....So my quilt ended up big enough for more than one person to curl up under!


My son is holding it up in these pictures and he's at least 6'2" and as you can see it absolutely engulfs him!


The December issue has a total of 10 gorgeous projects waiting to be stitched and I'll share my second contribution with you all very soon!


Wednesday 11 October 2017

Napkin Decoupage Tutorial

DIY Stamping Technique


 'How far that little candle throws his beams'


It has been ages since I've been able to craft, but this week I managed to squeeze in the time to make some little upcycled tea light holders.  They were inspired by a damaged 1940s copy of 'The Complete Works of Shakespeare' which I bought from an Oxfam charity stall at the Festival of Thrift.  I actually hate the idea of destroying books but this one was in such battered condition, both inside and out, that I was instead providing it with a new lease of life.....


I therefore hoped William wouldn't mind too much my tearing up his (damaged) plays to paste onto a candle holder but, just in case, I only used images that paid due homage to his literary legacy!

I clearly took some liberties with historical accuracy though, as he obviously wouldn't have used a dip pen and ink.  However, given I also included typewriter images, it soon became a bit of an anachronistic free for all!


I employed the same gorgeous book page decoupage technique for the background as these upcycled Easter eggs.


Now whilst I absolutely love pasting images cut from napkins onto random objects there are some major disadvantages to using purchased paper serviettes, namely their price and being restricted to a limited choice of designs.

I obviously wanted Shakespeare themed napkins for this project but a quick internet search only threw up these and at £35 a pack they were waaay out of my price bracket!

Luckily there's some absolutely brilliant Shakespeare rubber stamps out there, including this wonderful 'Writers' set by Cherry Pie Art Stamps


Tutorial 
Supplies

Plain White Paper Napkins
Stazon Permanent Ink
Stamps
Scissors
'Book Page' Tea Light Holder (or any other random object)

Method


Firstly completely cover your chosen item with strips of paper torn from damaged texts or old newspapers.  You could use modge podge decoupage medium for this but I thin down PVA glue (USA - Elmers) with 50% water and it works just as well but only costs pennies!  Use the full step by step book page tutorial I posted here.


Once the book page background is completely dry, you're ready to add some DIY stamped napkin images.  It really is as ridiculously easy as stamping your chosen design onto a plain paper serviette! 


Simply separate your napkin, so that you're left with a single ply.  Then, using a permanent ink such as Stazon, stamp your images straight onto it.  Note because you're going to be stamping onto a thin single ply there's a definite chance of marking the work surface underneath, don't ask how I know that!  (I recommend protecting your desk with a sheet of scrap paper 😀)

Trim your images as closely as possible to the stamped outline.  As William was a little too tall for my tea light holders I also chopped off his legs!

You've just created your own unique set of napkin images all ready to be decoupaged.  I guarantee you'll now be looking at your stash of stamps in a whole new light, liberating yourself from the stilted choice of purchased napkins!


"How far that little candle throws its beams! So shines a good deed in a naughty world"
William Shakespeare, The Merchant of Venice 


To see Shakespeare with his legs intact, check out my altered tin cans!


Finally, an outtake......


Thursday 13 July 2017

Upcycled Vintage Map Bunting

DIY Map Garland


As UK schools inch towards their six week summer holiday, teachers seem to become more creative with their homework tasks and the academic pressure eases off a little.  My daughter's geography class were put into small groups this week and told to create a recycled product for a 'Dragon's Den' style lesson!

She and her friends created this gorgeous upcycled garland using old maps, vintage lace and felt manufactured from 100% post-consumer plastic bottles.

It was an easy make and they only needed the smallest amount of help from me, so I thought we would share the process in this quick tutorial. 


Supplies

Old Maps
Cream Lace
Bias Binding Tape
Eco-felt
Pinking Shears

Step One

Cut a triangle template from thin cardboard (use a protractor and pencil or favourite computer programme!) and then round lower corner.

Lightly mark out map triangles, using your template and faint pencil. Roughly cut out each map triangle leaving at least an inch margin on sides.

Step Two

Layer map triangles onto backing felt and then machine stitch directly on top of your pencil lines.   Remove from sewing machine and trim just outside stitched line.  We used pinking shears but it would work equally well with regular scissors!  


Step Three

Unfold bias binding tape and place map flags and lace inside, with the triangles at approximately 2 cms intervals, lining up top edges.  Make sure you leave at least 15 cms of tape at both ends of the garland for hanging purposes, then machine stitch.  If you don’t have any bias-binding simply use some pretty ribbon or tape folded in half.


Step Four

Turn bias-binding tape to back of garland flags and hand sew into place using matching thread and a small slip or ladder stitch....and that's it!


See, it was easy!


The felt backing not only adds beauty to the finished garland, it also protects the paper maps from tearing.  I just love the addition of the cream lace too, so shabby chic!


Quick to stitch bunting makes a perfect present, and a garland using maps that hold special memories for the recipients would make it even more precious, especially for a wedding or housewarming gift!


The geography teachers obviously liked the project and voted it as their winning idea - My daughter's group graciously allowed them to keep the finished garland, hopefully not as a bribe to win! 


Happy Stitching!

Thursday 8 June 2017

Zipper Pouch Tutorial

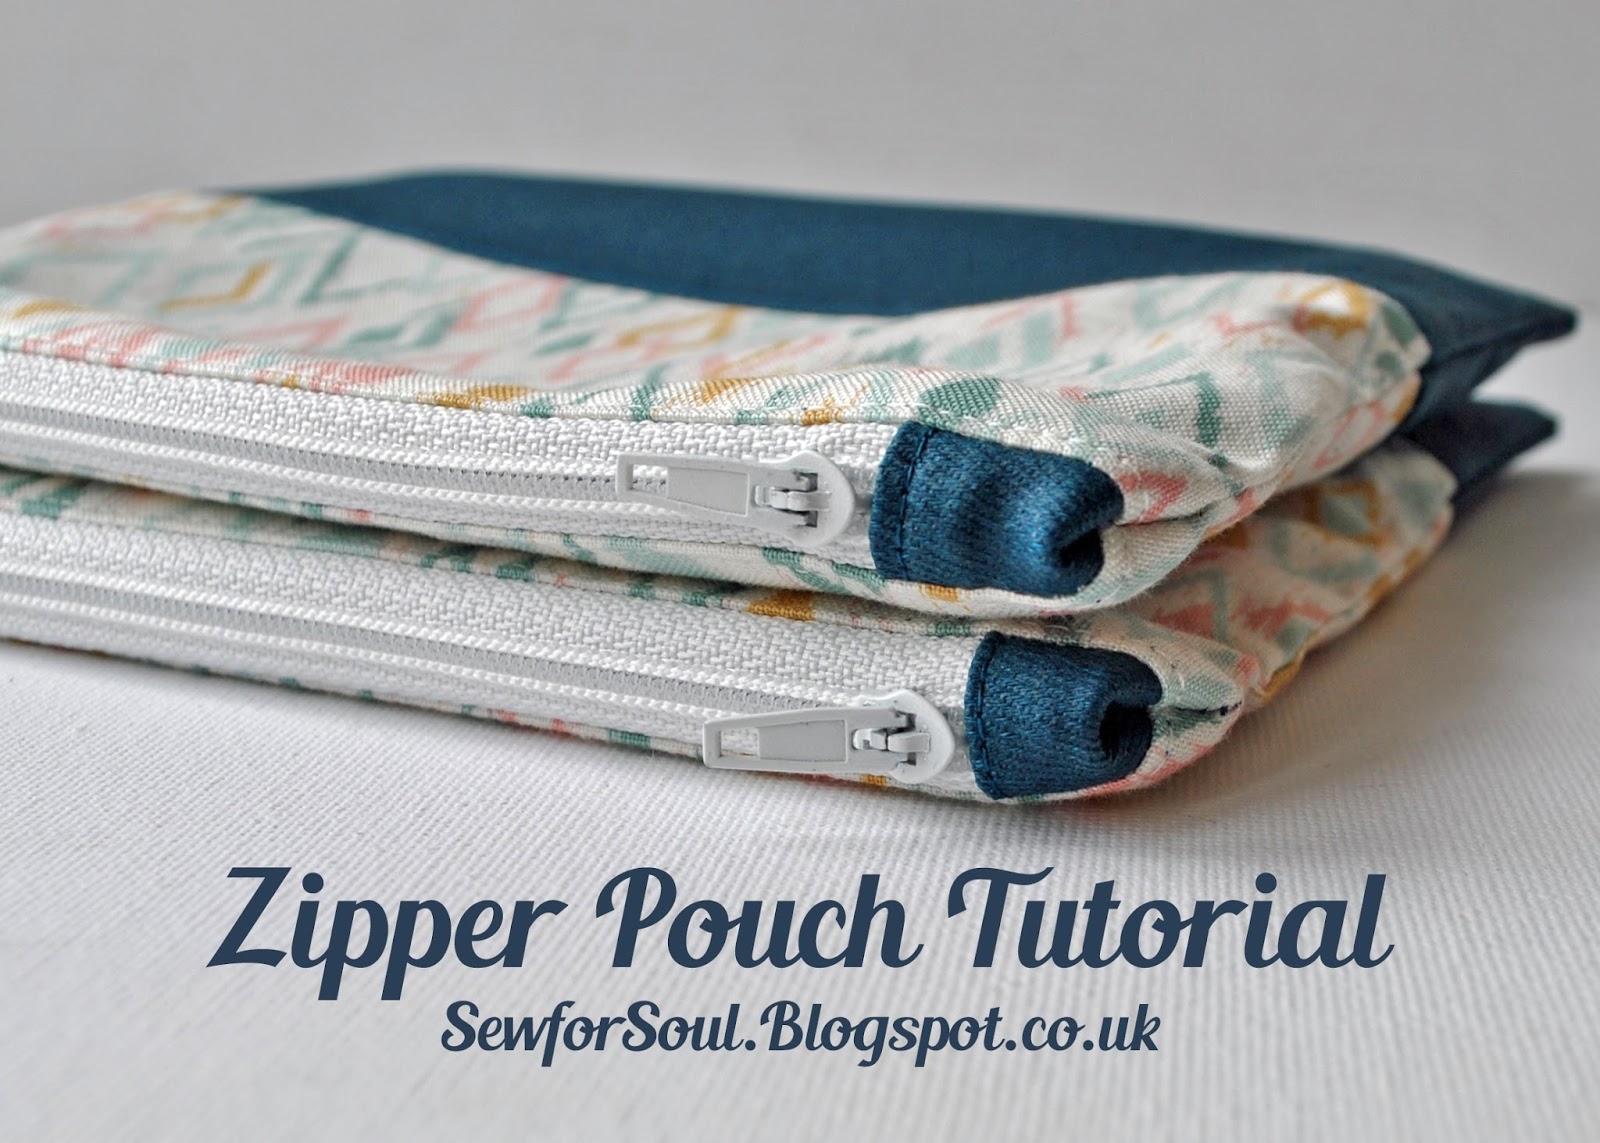
Lined Zipper Pouch with Matching Tabs & Contrast Panel 


Zipper pouches are my 'go to' project when stitching gifts.  They're so versatile and the recipient can always find a use for them: pencil case, make-up purse, travel bag, gadget case, clutch bag...etc....etc., the list is endless!

I stitched up this particular pouch for my husband's goddaughter.  The matching travel mirror, personalised with her initial, was made with my trusty badge machine one of my favourite playthings!


The dark green bottom panel is a 'waxy' type cotton which almost looks like leather.  It came from a pair of jeans that cost just 20p from a local car boot sale as I knew the fabric would be perfect for little sewing projects!  The eye-catching zigzag fabrics are from the 'Sophia' range by Makower and I originally used them to make these sprocket cushions, published in Sewing World Magazine.


Zipper pouches are the perfect sewing project for beginners as they (generally) only use straight lines.  They also introduce the slightly more challenging skill of inserting zips but their dinky size means should the worst comes to the worst not too much fabric is wasted!

On that note, it's important to remember that sewing does take practice and we all make many, many mistakes when learning.....and continue to do so!  My sewing has improved greatly over time simply because I've become more adventurous and now just get stuck in!  The main step in this direction was the growing prevalence of 'car boot sales' where I can buy old clothing, sheets, curtains, duvet covers...etc...etc., for next to nothing!  Previously purchasing supplies was an expensive business and as such I was extremely reticent to pick up my scissors and hack into fabric unless I was sure of the outcome. This obviously lead to a vicious circle whereby I didn't have many sewing skills but was too nervous to expand my stitching repertoire!

So grab some fabric, whether new or upcycled, and create your own gorgeous zipper pouch    

Zipper Pouch Tutorial  


Use a 1 cm seam allowance throughout.

The first step is to create the pouch exterior.  Cut two 21 x 11 cm rectangles from your chosen patterned fabric for the pouch top and two 21 x 7 cm rectangles from a contrast fabric for the lower section.  If the fabrics are a pale colour or light weight consider applying a fusible interfacing to the wrong side of your rectangles.

Sew together in pairs and then press seams towards the darker fabric.  Top stitch lower contrast panel for a lovely professional touch.  


Next cut two 21 x 16 cm rectangles from your lining fabric.  I chose a darker colour as this makes for a much more forgiving and practical choice, disguising make-up smudges or marks from leaky pens!

Now stitch the zipper tabs using your contrast fabric and this tutorial from one of my previous posts. If you want to miss this step out just make sure that your zipper is at least the width of your prepared pouch pieces!


The next step is to create your zipper sandwich.  To do this simply place your lining piece down with right side up and centre your zip on top of it right side up, there will be some overhang but this is trimmed off later along with the seam allowances.  Then put one of your lining pieces on top, wrong side up. Pin or tack the zip sandwich securely and then sew in place using a zipper foot. Repeat for the second side.


Open out the pouch and press neatly.  Then top stitch through all layers of fabric on either side of the zip, using your zipper foot or an edge stitch foot.  As with the stitching on the lower panel, it gives a professional finish and also prevents the lining from getting caught in the zip when in use.


Match up the outer fabrics right sides together and the lining fabrics, again right sides together. Ensure that the zip is at least half way open so that you can turn the pouch right side out after stitching!

Pin the sides together pushing the zip tab bulk towards the lining.  Then sew all the way around the outside, leaving an opening in the lining for a turning gap.


Trim seam allowances to reduce bulk.  Turn the pouch through to the right side and gently push out rounded corners using a large wooden knitting needle or other blunt point.

Lightly press and then using a small ladder or slip stitch hand sew the opening closed.


You've now stitched a fabulous zipper pouch!


Thursday 25 May 2017

Zipper End Tab Tutorial

How to cover zip ends ~ An easy DIY!


It's been absolutely ages since I lasted posted a tutorial, so without any further fuss here's a new one ~ Demonstrating how to create the little tabs covering zipper ends of bags and pouches.  They're such a cute little design feature, adding a pop of colour and a fabulous professional feel to your finished makes. 

So that you could see the difference they make for yourself, I began by stitching up an example pouch without tabs......


Just look how pinched and puckered the bulky zipper teeth make those poor side seams....


Now doesn't that look better?!

Tutorial

The first thing you'll notice about this tutorial is that I'm not one for lots of complicated measuring.....I'd much rather get on with the actual sewing and then cut off the 'extra' bits later!  This makes the whole process sew much quicker and easier 😀

To begin, firstly cut two strips of fabric just a touch wider than your zip and approximately twice the finished length of the tabs (I think about 1½ cm looks perfect) plus an extra 5 or 6 centimetres ~ See I promised no real measuring was needed!

Now cut your zipper so that it is roughly 4½ cm shorter than your pouch side pieces. I sew my seams with a narrow ¾ cm allowance but if you stitch a wider seam just cut your zipper proportionately shorter.  Trimming the zip also loses the metal 'staples' from the zipper ends, sewing machines needles do not come off best in a fight against them (guess how I know that!).  You could also sew the zip ends closed with a couple of hand stitches, I don't bother but I guess there is a slight risk you might lose the zipper pull off one or other of the open ends! 


Next fold under approximately 1 cm on each end of your fabric strips press, then fold in half and press again.  From now on the fabric strips will simply be referred to as tabs.

Place one zipper end just inside the first folded tab and hand tack into position.  The less zip you have within the tab the better, as the whole point of the exercise is to reduce unnecessary excess, thus eliminating the annoying puckering that comes from those bulky zipper teeth.

Machine stitch into place and repeat with the other zipper end, you'll then be left with the ends looking like this;


Now continue constructing your pouch in the usual manner......


....and once you've stitched your zipper pouch sandwich, simply trim off the excess tab fabric 


Looking good!


There you have it, a quick and easy guide to creating zipper tabs,
I told you it was easy!


For the pouch above I chose to stitch the tabs in a high contrast fabric for a very modern effect, but they also look great in matching fabric;


In the pouch below I made the tabs an absolutely integral design feature of the finished item... 


Pretty cute huh?


See More SewforSoul zipper pouches here