Personalised Linen Tag
As our warm weather gradually fades, my thoughts have been turning to Christmas. However, I can't yet bear to completely give up on summer, so today's sewing project would work equally well for either a luggage tag or a Christmas gift tag.

Personalised linen tag
Beady eyed UK readers will have noticed that I have used a clothing label from a British supermarket called 'Asda', as they have a clothing line named 'George'. The name comes from the designer George Davies who was also the original designer for 'Next' and luckily enough my son is also called George!
Tutorial
The first step is to cut a tag shape of your choice from a piece of iron-on interfacing. I used my Sizzix machine for this, but if you don't have a die-cutting machine simply cut one by hand.

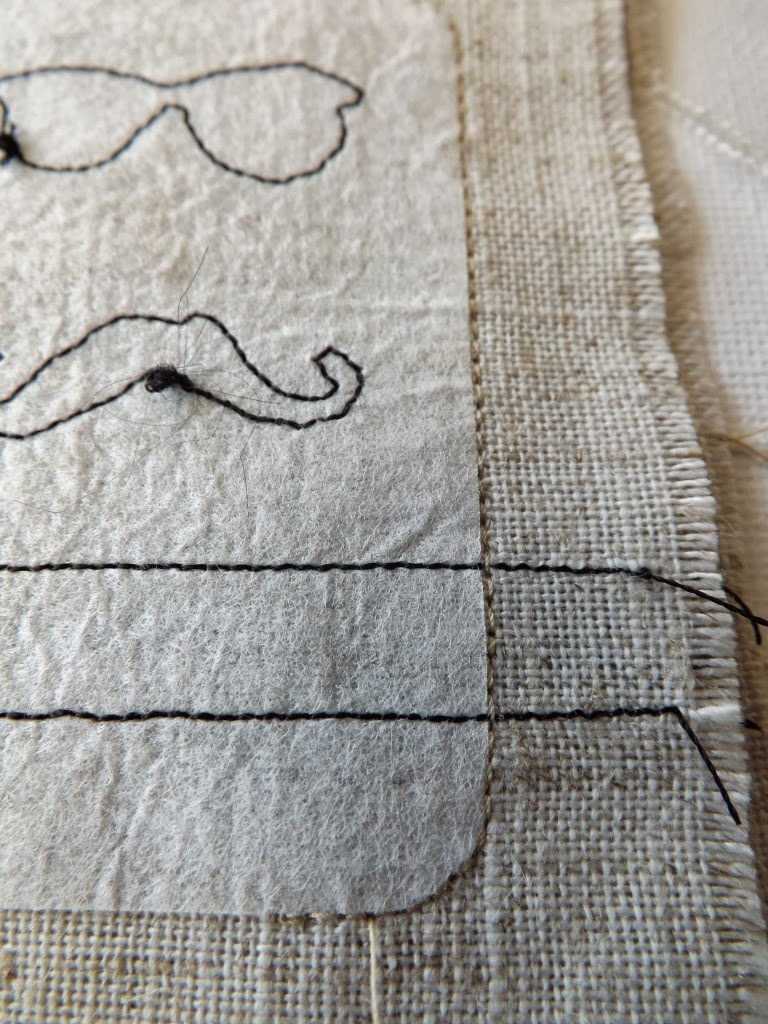
Next, using a warm iron, fuse the cut shape onto the wrong side of your fabric. I then held the fabric up to a window so that I could trace around the outline onto the right side using a Frixion pen. These pens are sold in most supermarkets and when used on paper the ink disappears with the slight friction caused by rubbing. On fabric the marks disappear when pressed with a warm iron, genuis! (...and much cheaper than pens sold specifically for quilting)
Having the outline of the tag on the right side of the fabric makes the correct placement of the applique shapes much easier.

So, using a fusible double sided bonding web such as 'SteamASeam' or 'Bondaweb', place your applique pieces onto the right side of your tag. Once you're happy with your design, iron the pieces into place and then machine applique using a reduced stitch length. I would also recommend using an open-toed machine foot so that you have a clear view of your work as you sew.

The ribbon tag is straight, it's just my camera angle, honest!
Now make a 'sandwich' of the front and back of your tag, placing right sides together. You don't need to cut the back piece into a tag shape yet, just keep both front and back as simple rectangles.

Trim the seams, leaving a little extra on the opening as this makes tucking in the raw edges easier.


Attach an eyelet or sew a length of ribbon to the top of your tag and that's it...
All done!
No comments:
Post a Comment