Using PVA is much 'cheeper' than Mod Podge!
Last Friday I received an email from the rather marvellous 'Style at Home' magazine asking me about my plans for the Easter Bank Holiday. 'Blimey' I thought 'Christmas was only a fortnight ago!'. Jen and her team have to work months ahead in order to meet the tight deadlines required to get the magazine onto the shelves for all us eager readers. Still, that email gave me the little push I needed to start thinking about Spring and Easter projects. I am planning to make 30 personalised and embroidered linen egg cosies as gifts for the guests at our annual party, which we hold after Mass on Easter Sunday. I am still mulling over designs in my head (read procrastinating), so I grabbed my scissors and PVA glue and placed all thoughts of stitching aside.
Instead I decided to 'age' these unattractive plastic eggs. We have bags of them left over from the egg hunts which the children used to enjoy when they were younger.
Most of the children in our social group are reaching the teenage years and an egg hunt is 'too young' for them. So after lunch on Easter Sunday we either go for or a walk or have a retro sports day. They're not too old for egg and spoon, sack and three-legged races!
The plastic eggs are now surplus to requirements so I got creative with an old book of quotations and some paper napkins and this is what I ended up with....
Antique Eggs!
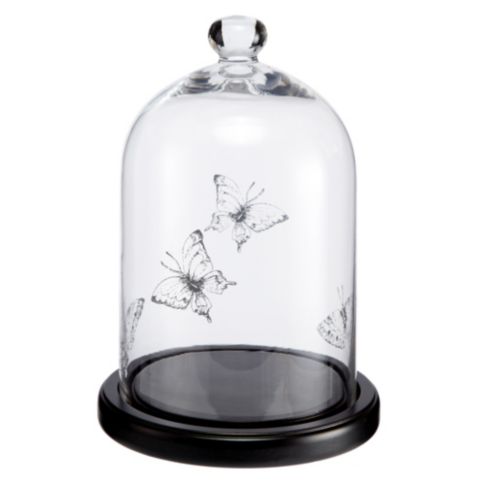
I wasn't sure how they would turn out, but I am really pleased with them. They remind me of gorgeous Victorian botanical prints and book plates. They were quite time consuming to produce, but the process was actually very easy and I am already dreaming about displaying batches of them under glass cloches and hurricane vases on the dinner table.
They cost next to nothing to produce and if you are a keen crafter you will probably already have all the supplies you need. I used plastic eggs (obviously), book pages, watered down PVA glue, brown paint and some pretty paper dinner serviettes.
Tutorial
I didn't prepare the eggs in any way at all, I didn't even bother gluing the two halves together and they worked perfectly, so grab your bits and pieces and jump straight in.
The first step was to stick on a layer of plain paper, I used some blank pages from the front of the book, onto to eggs using watered down PVA glue. You don't need to worry about the exact ratio of glue to water, just aim for the consistency of very thin single cream. I felt this first layer was necessary as the eggs were such lurid colours. I guess you could just add more than one layer of printed book pages, but I didn't want too much print showing through. Make sure you tear the paper rather than cutting it as this gives the pieces softer edges which blend into each other better when pasted down.
I worked in a little production line so that whilst one layer was drying I got started on the next egg. I found that if I tried to stick too many paper strips onto an egg in one go I just ended up in a sticky mess! I used an old, yellowed book of quotations, but if you don't have a suitable book to hand just use newspaper.
Once all the layers were completely dry, it was time to get creative with the paper napkins. I used botanical and butterfly themed versions.
Cut out your chosen image from the napkins, being sure to trim the design as closely as possible. Then separate the layers and, using the top ply only, smooth into place on your egg using more of the watered down PVA glue. I used my finger for this part of the process as I found I had more control this way rather than using a paint brush.
To complete the aging process I brushed some watered down brown poster paint over the eggs before quickly wiping off any excess. A final coat of the PVA mixture will seal your finished final design and then you can simply sit back and admire your handiwork!

.JPG)
.JPG)