Because life’s celebrations shouldn’t cost the Earth

Showing posts with label Appliqued Fabric Tag Tutorial. Show all posts

Tuesday, 26 May 2015

Felt Camper Van Keyring Tutorial

DIY Felt Combi Van Key Chain

These adorable felt key rings are sew easy to stitch up!  They require only the tiniest amount of materials and make equally perfect bag charms or luggage tags.


Even better, they stitch up in less than an hour and are great gift ideas for your 'difficult to buy for' relatives! 


I infused the backing felt on this little car appliqué with essential oils and it now hangs in hubby's car as a cute air freshener!

Tutorial

Supplies

Felt
Coloured fabric
Scrap of denim
'Bondaweb' (fusible web)
Ribbon
Split ring
Black thread

1.  Begin by drawing a template, simple shapes are best and suitable motifs include owls, flowers and hearts. If you doubt your drawing skills you can even download digi-stamps as templates.  I stitched up the car and cupcake using stamps by the very talented Wendy Massey over at Handmade Harbour.


2.  Trace your design onto 'Bondaweb' or other fusible web, iron onto the reverse side of your fabric scraps and then cut out neatly.


3.  Lightly mark the windscreen wipers and 'VW' logo with a pencil.  Now arrange the pieces into position on your backing felt and then carefully fix into place with your iron.


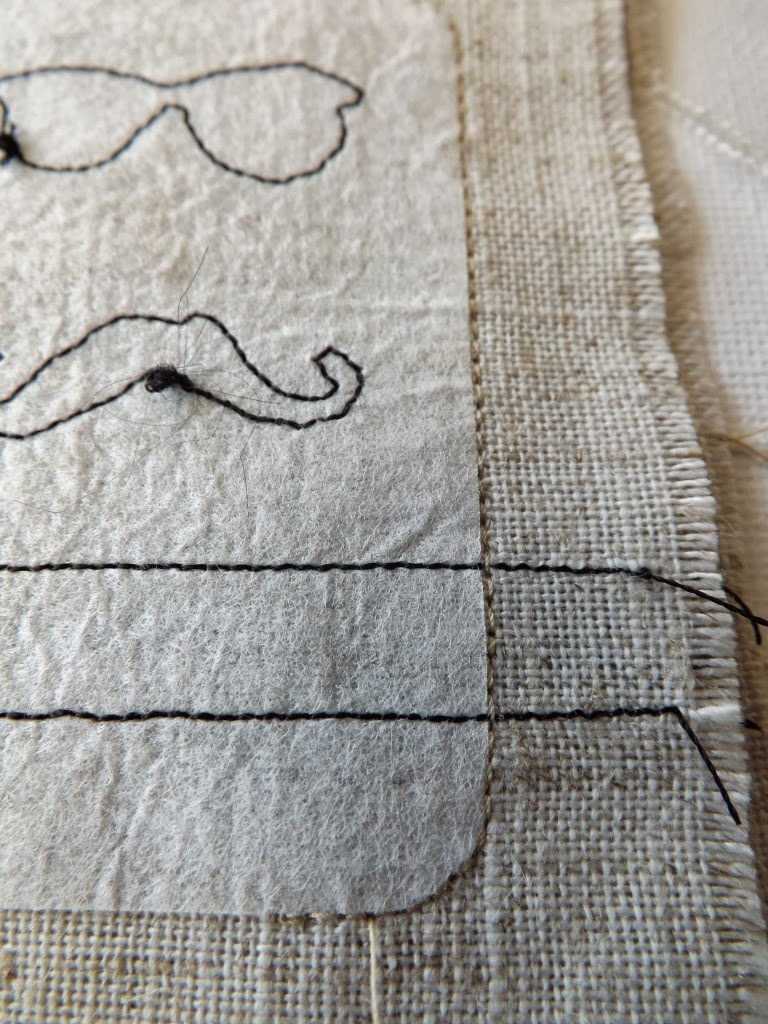
3.  Trim the felt at the top of your design and then lay onto a scrap of denim or other hardwearing fabric.  Fold a short length of ribbon in half and tuck between the two layers.  Now comes the fun part!  Machine around the appliqué pieces at least twice using black thread and aiming for a 'sketch-like' feel.  It doesn't even matter if your stitching is a bit wobbly as this all adds to the appeal of raw edge appliqué and free-motion embroidery!


4.  Now closely trim around your design using a small pair of embroidery scissors.  Finally thread onto a metal split-ring and that's it......See I told you it was easy!

Have fun making your own for Father's Day, Christmas stocking fillers, fund raising, etc. etc....

Wednesday, 18 September 2013

Appliqued Fabric Tag Tutorial

Personalised Linen Tag


As our warm weather gradually fades, my thoughts have been turning to Christmas.  However, I can't yet bear to completely give up on summer, so today's sewing project would work equally well for either a luggage tag or a Christmas gift tag.

Personalised linen tag

Beady eyed UK readers will have noticed that I have used a clothing label from a British supermarket called 'Asda', as they have a clothing line named 'George'.  The name comes from the designer George Davies who was also the original designer for 'Next' and luckily enough my son is also called George!  

Tutorial


The first step is to cut a tag shape of your choice from a piece of iron-on interfacing.  I used my Sizzix machine for this, but if you don't have a die-cutting machine simply cut one by hand.


Next, using a warm iron, fuse the cut shape onto the wrong side of your fabric.  I then held the fabric up to a window so that I could trace around the outline onto the right side using a Frixion pen.  These pens are sold in most supermarkets and when used on paper the ink disappears with the slight friction caused by rubbing.  On fabric the marks disappear when pressed with a warm iron, genuis! (...and much cheaper than pens sold specifically for quilting)
Having the outline of the tag on the right side of the fabric makes the correct placement of the applique shapes much easier.


So, using a fusible double sided bonding web such as 'SteamASeam' or 'Bondaweb', place your applique pieces onto the right side of your tag.  Once you're happy with your design, iron the pieces into place and then machine applique using a reduced stitch length.  I would also recommend using an open-toed machine foot so that you have a clear view of your work as you sew.

 The ribbon tag is straight, it's just my camera angle, honest!  

Now make a 'sandwich' of the front and back of your tag, placing right sides together.  You don't need to cut the back piece into a tag shape yet, just keep both front and back as simple rectangles.


The next step is to simply stitch both pieces together.  In order to keep the lovely tag shape, use the interfacing outline as your guide, keeping the machine's needle just to its right. Don't forget to leave a gap for turning!


Trim the seams, leaving a little extra on the opening as this makes tucking in the raw edges easier.


Almost there!  Now simply turn your tag right sides out and sew the opening closed.  I added some top-stitching around the edge to give my tag a more finished and professional look, but you can leave this step out if you prefer.


Attach an eyelet or sew a length of ribbon to the top of your tag and that's it...

All done!