Because life’s celebrations shouldn’t cost the Earth

Showing posts with label Sizzix. Show all posts

Wednesday, 3 February 2016

Faux Suede Make-Up Bag

Upcycled Couch Pouch! 


Whilst at our local car boot sale last summer I came across a chap selling a large amount of soft faux suede which he had removed from his sofa after the frame had apparently given way.  I was most impressed that he had taken the effort to recycle as much of the original materials as possible and absolutely delighted when he said he only wanted £1.00 for the lot!  I shoved it through the washing machine and it came out looking immaculate but it then found its way into a cupboard where I promptly forgot about it, until now....

..And this upcycled couch pouch(!) is the first project I've made with it. The suedette sewed up beautifully, the only downside is the gorgeous napped finish attracts tiny bits of fluff which then need picking off - As a little bit of a neat freak this would have driven me to distraction on a sofa!


I added a matching layered applique flower to the front, which I cut on my Sizzix machine using this Marianne Design flowers die.  The final touch was a vintage blue flower button in the centre of the flower, finishing the pouch off perfectly!


Zipper pouches are always a great project to make as once you've mastered the basic technique, they can be customised in an infinite number of ways.  They also make very useful gifts being suitable for cosmetics, pencil cases, travel pouches etc, etc!   Their look changes completely depending on the decoration added and they can easily be adapted for men, a group I always find it difficult to stitch for!    


Check out more SewforSoul zipper pouches here.


Sunday, 27 April 2014

Travel Sewing Kit

 Altered Mint Tin


My parents spend quite a lot of time in waiting rooms as my father, who has early-onset Alzheimer's, is on a new trial at Addenbrooke's hospital, Cambridge.  My Mum takes her knitting along with her, so I thought I would make her a little travel sewing kit ready for when she stitches up finished items.


I upcycled an old mint tin by colouring it with alcohol inks and then painting the lid with a coat of emulsion (vinyl) paint.  The next step was to stamp an all over flourish pattern using white StazOn ink.  The die-cut shapes were cut with my trusty Sizzix machine and I used the same motifs for both the paper and felt. The needlebook was cut using a 'Matchbook' die which gave it a lovely embossed line along the length of its spine.


The little needlecase fits neatly into the tin lid, leaving plenty of room for thread, scissors, thimble and other sewing essentials. 


My Mum also keeps various other 'essential' items in it including tweezers and nail-clippers, but I whipped these out of the way for this set of photos! 


The tin is lined with the same soft pink felt as I used for the pages of the needle-book. Once all the stitching and gluing was complete, I varnished the outside of the tin for a little added protection. 


*********


Finally, here's a couple of pictures from lunch on Easter Sunday, it's hard to believe it was just last week!  It was a bit chaotic once the guests arrived, so I only managed to get a couple of photos in the morning.  We seated thirty-one in total, one at each end with fourteen down one side and fifteen along the other.  The menu consisted of soup and bread for starters, jacket potatoes with salads for the main course and then a 'shared' (each family bringing a contribution) sweet trolley. Once we had finished eating the children had an egg hunt in the garden and then we 'geocached' around the local countryside.  


I had intended placing the egg cosies on the table as a place marker for each guest, however we then decided this was asking for them to get covered in food, so we popped them onto the windowsill instead.


If you fancy winning a pair of egg cosies, don't forget you have until midnight tomorrow to enter my Egg Cosy Giveaway.  To take part you simply have to leave a comment on this blog and sign up to follow it either through Blogger or Bloglovin'.  The winner will receive a handmade pair of linen egg cosies lovingly appliqued in any design or colour scheme chosen from these. 

Good Luck!


Tuesday, 9 April 2013

Felt Cupcake Toppers

Little Felt Ornaments


Alice has lost her Japanese Kokeshi Doll hair slide.  I originally made a set of three of these as Mr. Larkin's beautiful god-children are Japanese on their mother's side and celebrate Hinamatsuri, 'Doll's Festival' or 'Girl's Day', on 3 March each year.  We have searched and searched and Alice's has still not turned up, so I guess I will have to make a replacement.  In one last ditch hope, before I get started, I pulled out our box of felt cake toppers in case it had been inadvertently been tidied away there.  Alas, no luck, but as they were out I thought I would take a few photos of some of them to share with you.

The shapes were either cut by hand or with my Sizzix machine and then hand stitched and embellished. I wanted to have a 'staged' photo shoot with real cupcakes but they would never last long enough in this household!  So instead I used some vintage wooden cotton reels, they are definitely much nicer than the modern ones.


I cut the little birdies using a Quickutz die, but if you don't have a die-cutting machine simply cut a basic bird shape by hand.  The eyes are french knots, the wings are stab stitched and the edges have been blanket stitched.  I glued a little bead under each topper for a touch of bling, they really catch the light.  We use them at Easter, but they would also be super for a baby shower. 


The mini Easter egg ones are pretty cute too and with a pin on the back would be perfect as a little brooch or hair clip.


Everyone loves cup-cakes and this yummy example was also cut using a Sizzix die.  The sprinkles are tiny glass beads.


I made loads of these owls for a Halloween party, but this lonely lad is the only one left!


This bird is a little big to be a cake topper and would probably have suited being a brooch or hair barrette better!


Russian 'Matryoshka' Dolls


Felt is a great material to use as it is widely obtainable and is easy to sew as it doesn't fray.  I also like having a hand sewing project on the go as it means I can take it anywhere rather than being 'tied' to the sewing machine.  Now I better get started on Alice's Kokeshi Doll.  Watch out for the new post as soon as it's finished xx

Sunday, 24 March 2013

Easter Decorations

Our Easter Preparations


Here is a sneak peek at some more of our Easter creations.  

Firstly an altered mint tin which is for a party favour.  It is painted, stamped and decoupaged.  The shapes were cut using my favourite Easter 'Quickutz' dies.  In the background you can see some decoupage eggs which started out as cheap polystyrene ones from the pound store.  I then painted them with emulsion and applied motifs cut from paper napkins/serviettes.  A bit fiddly, but the effect is brilliant, as they look like hand-painted creations!


Next is a little gift bag sewn with felt shapes cut using my trusty Sizzix machine.  I have also stitched about 15 personalised versions which you may have spotted in an earlier post.


Easter Trees

So far I have put up the trees in the family room and dining room, so now just the lounge to go!


Family room

Dining room


I made many of the hanging eggs, these ones feature free motion machine embroidery and raw edge applique;


I designed and quilted a wall hanging in matching colours, it was my first ever attempt, so don't be too critical!  


And finally some cones I made for our God-children which are waiting to be filled by the Easter Bunny!


Postscript

Easter Sunday


I didn't manage to take many pictures on the day itself - Too busy getting the table set and lunch ready for a total of 31 guests.  We normally have between 40-50, but Easter was so cold this year I felt we should have less as the weather wasn't conducive to having people sit in the garden.


 We did consider placing some of the girls around the kitchen table to give the rest of us a bit more room.  In the end we decided against it and just shifted out a couple of sofas as we felt it would be a greater act of family and community for us all to be together.

If you look carefully at the above picture you can see Mr.Larkin and bad kitty in the family room making the most of the last few minutes of quiet before the fun began!


Alice was in charge of seating and we had made some very simple place cards so that people stuck to her plan.  The cards actually looked really good, but the glitter and inking details haven't been picked up all that well by the camera. 

The outside of the house wasn't left out - I took this tree......


..and painted and decorated it.


The 'Crown of Thorns' made its debut this year.


Everyone was very well behaved and so a little guest made an appearance.  Here 'he' is in my study being got ready. One threw oneself into the role and the method acting was worthy of an Oscar.  The only down side being that all alcohol had been given up for Lent and so Mr. Bunny was a little happy from the wine at the table.  As a result almost every guest got a present and a kiss, although I'm pleased to say the Priest escaped the kissing part!


All the children and women received a 'proper' present, but the men got a bag of mixed chocolate nuts and raisins packaged with an Easter theme!


I hope you all had a very Happy Easter shared with those you love xx

Wednesday, 27 February 2013

Easter 'Crown of Thorns' Tutorial

The Theology behind Easter


Now I'm not religious, but Mr. Larkin and the children are practicing Catholics, so we all attend Mass as a family on a weekly basis.  I also have a degree in Theology and find it strange that so much is made of Christmas and yet Easter could easily pass with hardly a murmur.  Could the average person in the street even explain the meaning of the festival?


I think many people might guess the festival is something to do with bunnies and/or chocolate!


Easter bunnies are cute though!

Anyway, I am fully supportive of our children being bought up in a faith.  I know some people don't take their offspring to a place of worship because they feel 'religion should be a choice'.  However, I believe that in order to truly make that choice, they need to be exposed to faith in the first place, so that's it until they leave home!  I also desire for them to grow up tolerant and welcoming in a multi-faith society and having an understanding of their own culture and history helps them to develop a wider empathy towards all.  

So, back to the tutorial (eventually!) ... 

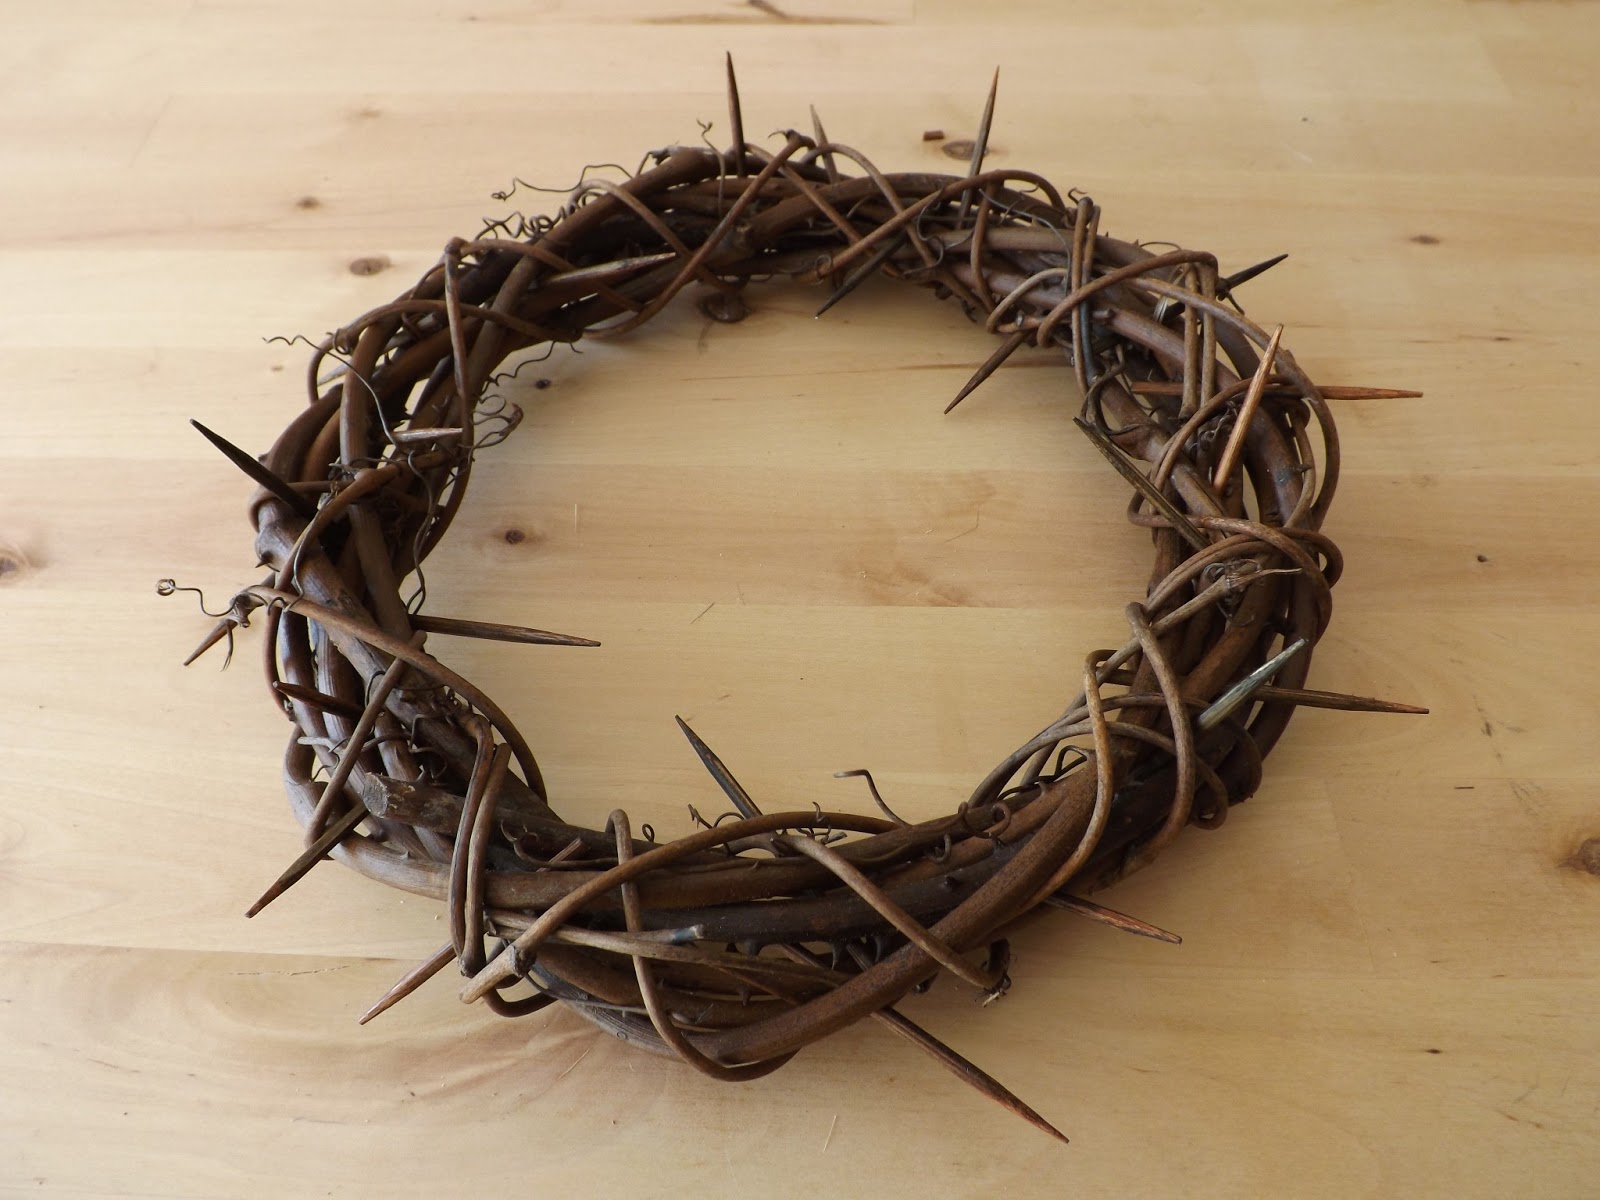
Each year after Easter Sunday Mass we have people back to the house to share in a celebratory lunch. We normally have about ten families (around 40-45 people) and the children have an Egg Hunt in the garden and we all enjoy a buffet.  This year we are going to do it a little differently with only 25-30 people but having a sit down lunch.  I am now in full flow working on this year's decorations.  The first thing I made is a crown of thorns to go atop an outdoor Easter tree, and I thought I would share a tutorial with you as it's so easy but very effective.

Crown of Thorns Tutorial


 It looks pretty realistic, don't you think?

Okay, so grab your supplies.....


25cm grapevine wreath, liquid shoe polish, pliers and wooden kebab skewers

And then, holding the wooden skewers at the blunt end so that your fingers stay clean, 'paint' the bottom couple of inches with the brown shoe polish.  I gave mine a second coat with some black as I felt they weren't dark enough.  This will all depend on the colour of your wreath, you want them to match fairly closely.


Once you are happy with the colour, you're ready to cut them down to size with the pliers


A second opinion was needed, but she agrees they're ready to be cut!


So cut them down to size and then take a break, have a cup of tea and pop the off-cuts into the wood burning stove!

Okay, next step.........just shove the 'thorns' into your wreath!


I like the effect of having used both black and brown polish as the wreath itself has a dappled appearance. The new 'thorns' blend in perfectly and look as though they have always been there.  


We are also going to use the Crown as an aide memoire during Lent and when the struggle of giving up chocolate, or in Mr. Larkin's case beer, becomes too much we can look at it and remember the supreme sacrifice that Jesus made.  Hopefully at that point our pitiful efforts will pale into insignificance and we will finish Lent joyfully!

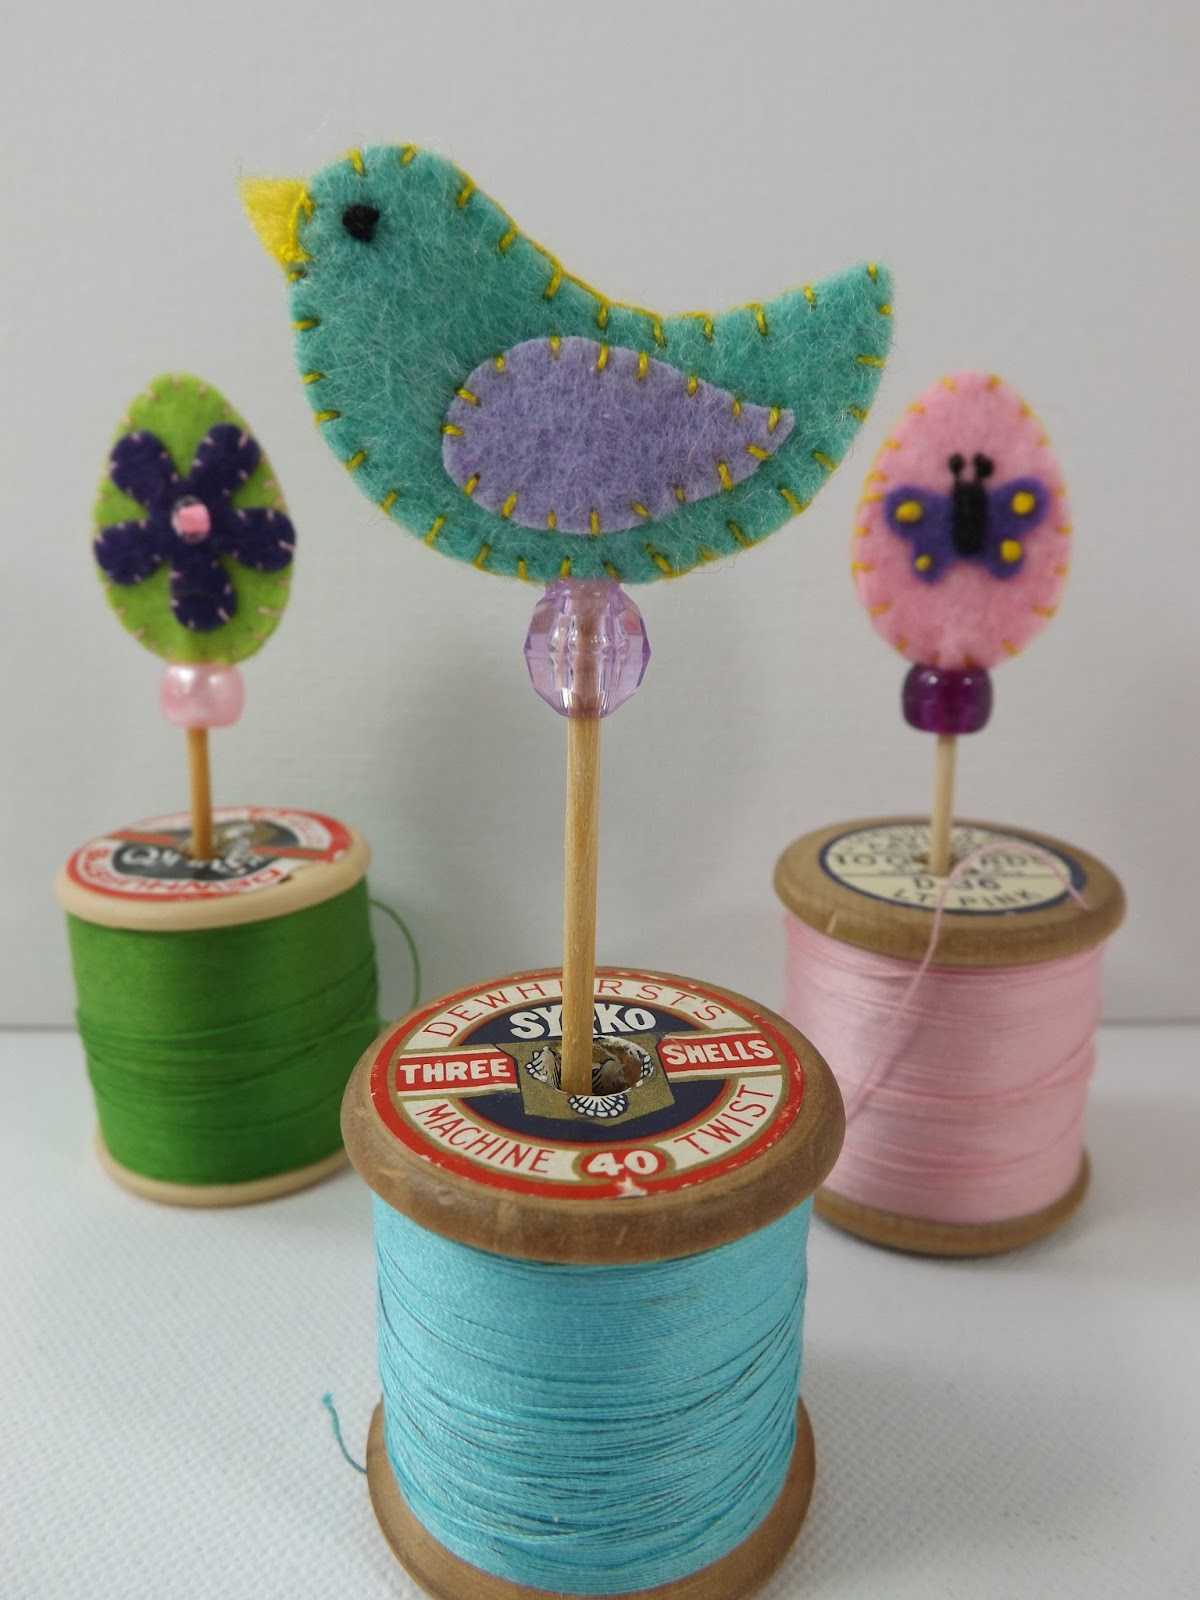
I have also been doing a little sewing so that the Easter Bunny has some gifts to hand out from 'his' basket.  (Please, please Mr. Larkin do it, you will look lovely in the costume.....but shush don't tell anyone who it really is!)


And a close-up